Budget Bar Setup Under $200
Build a whiskey bar under $200 that sharpens your palate and boosts your confidence—perfect for beginners who want to taste with purpose.

What if $200 could teach you more about whiskey than a shelf full of trophy bottles? For new whiskey drinkers, building a smart, intentional bar isn’t about flash or flex.
It’s about creating a setup that sharpens your senses and deepens your understanding—without breaking the bank.
With the right bottles and tools, you can train your palate, build confidence, and taste with purpose from the very first pour.
Think Like a Taster, Not a Shopper
A solid whiskey bar starts with a shift in mindset. You’re not curating a display, you’re building a lab. Every bottle needs to earn its place by teaching you something.
Skip the hype cycles. You don’t need influencer-approved brands or anything that says “limited edition” in gold foil.
The most valuable whiskeys in your early setup are the ones that show you how flavor works—how mashbills shape sweetness, how oak changes texture, how proof changes perception.
This is where most beginners screw up. They buy three bottles that all taste like some version of the same smooth caramel vanilla bomb, and they wonder why whiskey seems one-note.
You don’t need three bourbons that do the same thing. You need contrast. Tension. Something to compare.
Build for Contrast, Not Redundancy
Your first five or six bottles should fight with each other in the glass. Not in terms of quality, but in personality. One should punch, one should glide.
One should burn, one should whisper. That’s how you start tasting with clarity—not just reacting to “what you like,” but identifying what you’re experiencing.
Style, Not Just Origin
A smart lineup might include:
- A high-rye bourbon with bite and backbone
- A soft wheated bourbon that shows how grain changes sweetness
- A clean, malty Irish whiskey—light-bodied but layered
- A peated Scotch that brings in earth, smoke, and salt
- A Canadian or Japanese blend that emphasizes balance and restraint
This setup isn’t about globe-hopping for its own sake. It’s about flavor profiles. You want light vs. rich, sweet vs. spicy, clean vs. funky.
These bottles don’t have to be expensive—they just have to pull in opposite directions. That creates a real tasting experience.
It trains your palate to detect nuance. You start noticing mouthfeel, finish length, barrel influence. You start building a vocabulary that goes beyond “smooth.”
Don’t Just Sip—Study
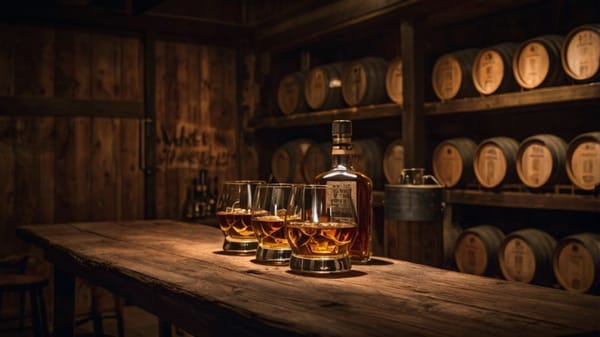
Every pour is an opportunity to learn. That means slowing down. Pour small. Smell deeply. Let it sit in the glass for a few minutes—temperature and air will change it.
Taste neat first. Then, if the proof is high, add a few drops of water and try again. Don’t swirl like wine. Don’t shoot like vodka. You’re here to observe.
When you nose the whiskey, look for the first three things that hit you. Don’t overthink it. If it smells like brown sugar, burnt toast, or your uncle’s garage, write it down. Flavor memory is built through repetition.
The more you log your own notes, the better your instincts get. And the sooner you’ll be able to tell the difference between quality and clever packaging.
Track, Don’t Just Taste
A $2 notebook might be the most powerful thing in your bar. Not just for notes, but for tracking patterns. Which mashbills you gravitate toward.
Whether you prefer sherry finish or toasted oak. What kind of smoke you tolerate—and what kind you crave.
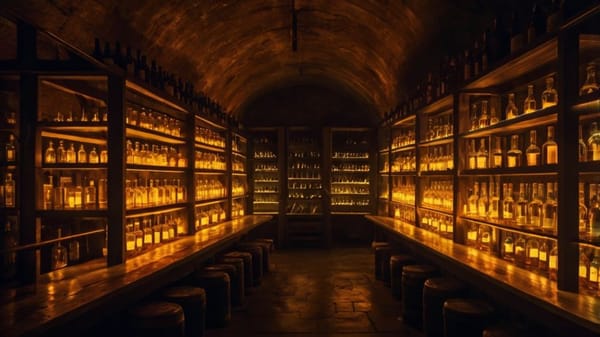
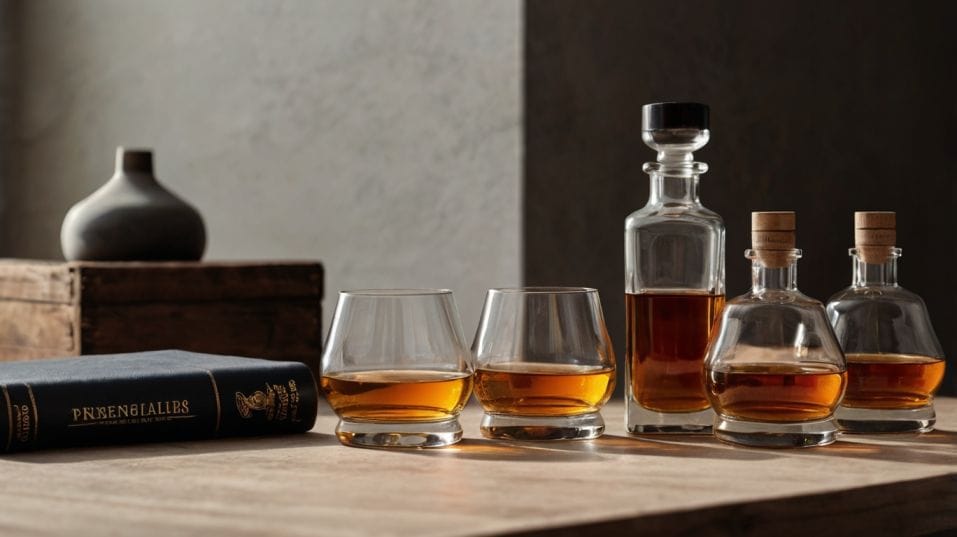
Gear That Works (Not Just Looks Good)
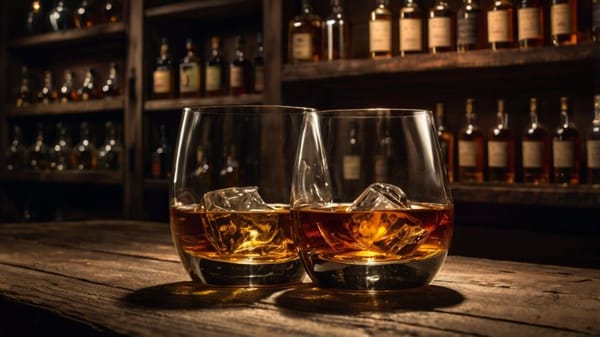
You don’t need a $100 decanter. You don’t need a leather-bound flight board. You need two good glasses (Glencairn, tulip, or copita).
You need a water dropper, or just a clean straw. You need light. Seriously—taste in a well-lit space so you can see the color. Color tells you things: age, barrel char, filtration. The rest is noise.
Keep your bottles somewhere stable. Avoid direct sunlight. Store upright. No need for a fancy cabinet. A shelf you respect is enough.
How to Spend the $200
Think of your $200 not as a ceiling, but as a framework. You’re buying utility, not prestige. The key is balance. You want a range of styles and a couple tools to help you make sense of them.
The Smart Allocation
A rough breakdown might look like this:
- 5 bottles: $30–$40 each (bourbon, wheated bourbon, Irish, Scotch, blend or rye)
- 2 tasting glasses: ~$10–15 for the pair
- Notebook: $5
- Water dropper or eyedropper straw: $1–3
That’s it. No coasters, no gimmicks. You’ve got your bar.
And the best part? These aren’t throwaway bottles. Many are shelf staples with decades of history and strong quality control.
They’ll keep teaching you well past the beginner phase. Some may even become personal benchmarks—bottles you come back to after trying something rare, just to recalibrate your palate. That’s when you know your setup’s working.
Tasting Is a Skill—Build It Like One
The beauty of a tight, budget-conscious setup is that it forces you to pay attention. You can't hide behind variety.
You only have a few bottles, so each one needs to do more. That kind of constraint builds clarity. You learn what each whiskey is doing, and why. You taste not just to enjoy, but to understand.
Eventually, your bar will grow. You'll chase older expressions, single barrels, finishes, cask strengths. That’s fine. But what you build now—under $200—will shape how you evaluate everything that comes later.
It’s your tasting foundation. Your personal flavor map. And it will save you from making dumb, expensive mistakes just because something looked cool or got five stars on a blog.
Final Thoughts
If you're just starting out, don’t wait until you can afford the perfect bottle or the perfect shelf. Start building your bar today. Focus on contrast. Train your senses. Taste with attention. Spend with intent.
With $200 and a little discipline, you can build a whiskey bar that teaches you more than most collections ten times the size.
One that helps you taste better, collect smarter, and drink with purpose—not just curiosity. Pour something neat tonight. Take your time. Let it tell you something.